
EMS Foot Massager How to Use: The Ultimate Guide to Relaxation and Recovery
Welcome to the ultimate guide on how to use your EMS foot massager effectively and safely. Whether you’ve just purchased a dedicated EMS foot massager, a versatile EMS foot massager pad, or a comprehensive EMS massage mat, this manual will walk you through every step to ensure you achieve optimal results. Electrical Muscle Stimulation (EMS) technology offers a sophisticated way to relieve tension, improve circulation, and promote deep relaxation. Mastering its use will transform your wellness routine, bringing the benefits of a professional massage directly into your home. Let’s embark on this journey to discover how to unlock the full potential of your device.
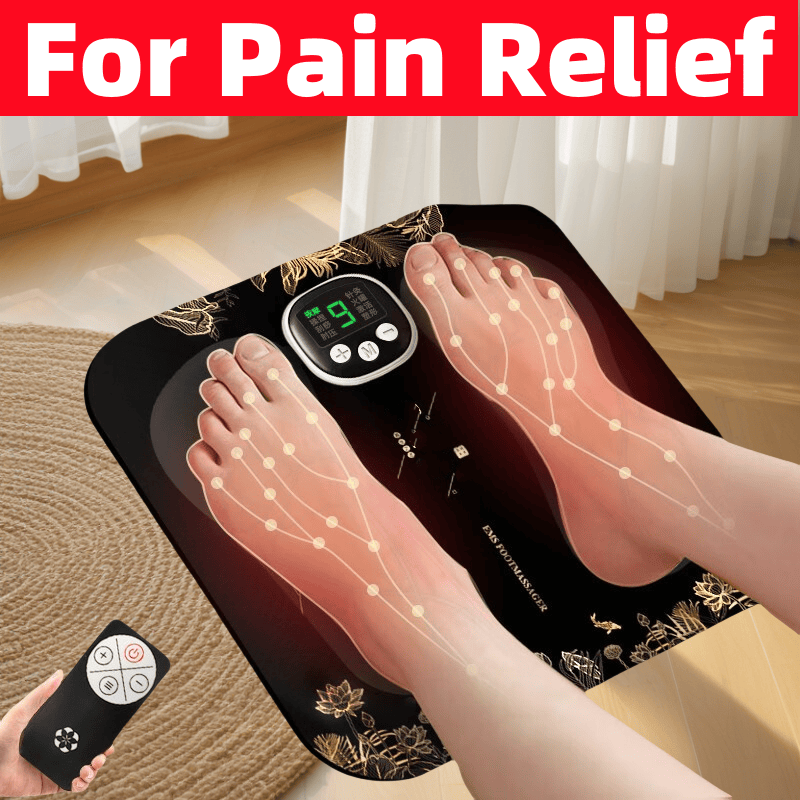
EMS Foot Massager Pad Price, Muscle Stimulator Mat
Table of Contents
Understanding EMS Technology and Its Benefits
Crucial Safety Instructions: Before You Begin
Unboxing and Getting Familiar with Your Device
Step-by-Step Guide: How to Use Your EMS Foot Massager
Pre-Use Preparation
Powering On and Basic Navigation
Selecting Modes and Programs
Mastering Intensity Control
Concluding Your Session
Expanding Your Experience: Using an EMS Foot Massager Pad and EMS Massage Mat
Integrating EMS into Your Wellness Routine: Tips and Best Practices
Cleaning, Care, and Maintenance
Troubleshooting Common Questions
Frequently Asked Questions (FAQ)
1. Understanding EMS Technology and Its Benefits
Before diving into the “how,” it’s essential to understand the “what” and “why.” EMS, or Electrical Muscle Stimulation, uses low-frequency electrical impulses to stimulate motor neurons, causing your muscles to contract. These contractions are similar to those occurring during voluntary exercise but are initiated externally.
When applied to the feet, this technology offers profound benefits:
Deep Muscle Relief: It penetrates deep into muscle tissue, alleviating aches, pains, and stiffness caused by prolonged standing, walking, or exercise.
Enhanced Circulation: The rhythmic contractions act as a pump, promoting blood flow and helping to reduce swelling and deliver oxygen-rich blood to tired tissues.
Stress Reduction and Relaxation: The stimulation encourages the release of endorphins, promoting a state of calm and reducing overall stress levels.
Targeted Recovery: It allows you to focus on specific areas of discomfort, such as the arches, heels, or calves, for personalized relief.
Your EMS foot massager is designed to deliver these benefits through intuitive technology.
2. Crucial Safety Instructions: Before You Begin
Your safety is paramount. Please adhere to these guidelines before your first session:
Absolute Contraindications – DO NOT USE if you:
Have a pacemaker, implanted defibrillator, or any other electronic medical implant.
Are pregnant or believe you could be pregnant.
Have been diagnosed with heart disease, thrombosis, or severe circulatory problems.
Have epilepsy or any other neurological disorders.
Have open wounds, rashes, sores, or inflamed skin on your feet or areas of use.
Have a fever or an active infection.
General Safety Precautions:
Consult Your Doctor: If you have any underlying health conditions or concerns, consult a healthcare professional before use.
Hydration: Ensure you are well-hydrated before using the device.
Sensation is Key: The feeling should be a strong, comfortable tingling or massaging sensation. It should never be painful.
Avoid Certain Areas: Never place electrodes on your neck, chest, temples, or across your heart.
Stay Alert: Do not use the massager while driving, operating machinery, or when you need full concentration.
3. Unboxing and Getting Familiar with Your Device
Unpack your product and identify all components. A typical package includes:
The main control unit (the brain of your EMS foot massager).
The applicator: This could be a pair of pedal-shaped pads (the EMS foot massager pad), a single pad, or a larger EMS massage mat.
Connection cables (if applicable).
A power adapter or USB charging cable.
A user manual (you’re reading it!).
Take a moment to locate the buttons on your control unit. These typically include:
A Power button
Mode (M) button to cycle through programs
Intensity (+) and (-) buttons
A Timer button (on some models)
An LCD screen or LED indicators
4. Step-by-Step Guide: How to Use Your EMS Foot Massager
Follow these steps for a perfect session every time.
A. Pre-Use Preparation
Charge the Device: If your model is rechargeable, connect it to power and charge it fully. A green light often indicates a full charge.
Prepare Your Skin: Your feet should be clean and dry. Remove any lotions or oils, as they can impede conductivity. For individuals with very dry skin, slightly dampening the soles of your feet can improve the connection and comfort.
Position Yourself Comfortably: Sit in a comfortable chair or on your sofa where you can relax without interruption for 15-20 minutes.
B. Powering On and Basic Navigation
Connect the Pads: If your EMS foot massager pad is detachable, plug it firmly into the port on the control unit.
Place Your Feet: Place your bare feet firmly onto the pads. Ensure your entire sole, especially the arch and heel, is in contact with the electrode surfaces.
Power On: Press the power button. You may hear a beep, and the display screen or lights will activate.
C. Selecting Modes and Programs
Cycle Through Modes: Press the “Mode” or “M” button to explore the different massage programs. These are pre-designed patterns of electrical impulses that mimic various techniques. Common modes include:
Knead: A gentle, rhythmic compression ideal for warming up.
Tap: A percussive tapping sensation that invigorates tired muscles.
Shiatsu: A deeper, more focused pressure that mimics thumb-like pressure.
Roll: A rolling sensation that travels along the sole of the foot.
Relax: A gentle, wave-like pattern designed for calmness.
Choose Your Favorite: Select a mode that feels best for your current needs. You can change modes during your session.
D. Mastering Intensity Control
This is the most important step for comfort and effectiveness.
START LOW: Always begin at the lowest intensity setting (Level 1).
GRADUALLY INCREASE: Slowly press the “+” or “Intensity Up” button. Allow a few seconds between each increase for your muscles to acclimate.
FIND YOUR “SWEET SPOT”: Increase the intensity until you feel a strong, definite, yet perfectly comfortable tightening or tingling sensation in your muscles. You should see your muscles gently contracting.
LISTEN TO YOUR BODY: The sensation should be pleasant, not painful. If it becomes uncomfortable or painful, reduce the intensity immediately. The goal is therapeutic stimulation, not endurance.
E. Concluding Your Session
Automatic Shut-Off: Most devices are programmed to automatically turn off after 15 or 20 minutes, which is an ideal session length.
Manual Shut-Off: You can also end your session early by pressing and holding the power button.
Post-Session: Gently remove your feet from the pads. Disconnect the pads from the control unit if necessary. It’s a good idea to drink a glass of water to rehydrate.
5. Expanding Your Experience: Using an EMS Foot Massager Pad and EMS Massage Mat
For a Dedicated EMS Foot Massager Pad: The instructions above apply directly. These pads are highly portable and perfect for targeted foot relief at your desk or in your living room.
For a Full EMS Massage Mat: These mats are designed for full-body use. You can lie down and place the mat against your back, calves, or thighs. The process is identical: connect, position the electrodes on the target muscle group, select a mode, and start at a low intensity. The larger surface area provides a broader massage experience, perfect for after a workout.
6. Integrating EMS into Your Wellness Routine: Tips and Best Practices
Consistency is Key: For best results, use your EMS foot massager regularly. A daily 15-minute session after work can significantly reduce cumulative foot fatigue.
Pre-Workout Warm-Up: Use on a low setting to stimulate blood flow and gently warm up the muscles before exercise.
Post-Workout Recovery: Use on a gentle, relaxing mode to aid muscle recovery after strenuous activity.
Evening Wind-Down: Incorporate a session into your bedtime routine to promote relaxation and improve sleep quality.
7. Cleaning, Care, and Maintenance
Cleaning: Always disconnect from power. Wipe the surface of the EMS foot massager pad or EMS massage mat with a soft cloth lightly dampened with water or a mild disinfectant. Do not use abrasive chemicals or submerge the device.
Storage: Store the unit in a cool, dry place. Avoid bending the wires sharply. Keep the electrode surfaces free from dust and debris.
Maintenance: There are no user-serviceable parts. Do not attempt to repair the device yourself.
8. Troubleshooting Common Questions
No Sensation? Check the power connection, ensure the pads are plugged in correctly, and that your skin is clean and making good contact. Start at intensity level 1.
Uneven Sensation? Adjust your foot position. Ensure both feet are making even contact with the electrodes.
Too Intense, Even on Low? Your skin may be too dry. Try slightly dampening your feet. Always start at the very lowest setting.
9. Frequently Asked Questions (FAQ)
Q: How long and how often should I use my EMS massager?
A: A 15-20 minute session per day is recommended for most users. You can use it daily, but always listen to your body. If you feel any soreness, take a day off.
Q: Can I use it on other parts of my body?
A: A dedicated EMS foot massager is designed for the feet. However, an EMS massage mat is specifically designed for use on larger muscle groups like the back, legs, and arms. Always follow the manufacturer’s instructions.
Q: Why does it feel tingly?
A: The tingling sensation is the low-level electrical impulses activating your nerve endings and muscle fibers. This is completely normal and the intended effect.
Q: Will it help with plantar fasciitis?
A: Many users report relief from plantar fasciitis symptoms due to improved circulation and reduced muscle tension. However, it is not a cure. Always consult a doctor for a medical diagnosis and treatment plan.
We hope this comprehensive guide empowers you to use your EMS foot massager with confidence. Enjoy your journey to deeper relaxation and improved well-being
Related topics:
The Heft and Feel: What to Expect from the Weight of a Tungsten Ring
The Scratch-Resistant Promise: How Hard Are Tungsten Rings Really?
How to Personalize Your Tungsten Ring: Inlays, Finishes, and Designs